Managing Awin Module
Welcome to the user guide for managing the Awin Module. This guide will walk you through the process of seamlessly connecting your website to the Awin tracking system and configuring its settings. Follow the steps below to successfully integrate the Awin Module and optimize its functionalities.
1. Installation Process
To enhance your website's tracking capabilities with the Awin Module, follow these installation steps:
- Access the admin area of your website.
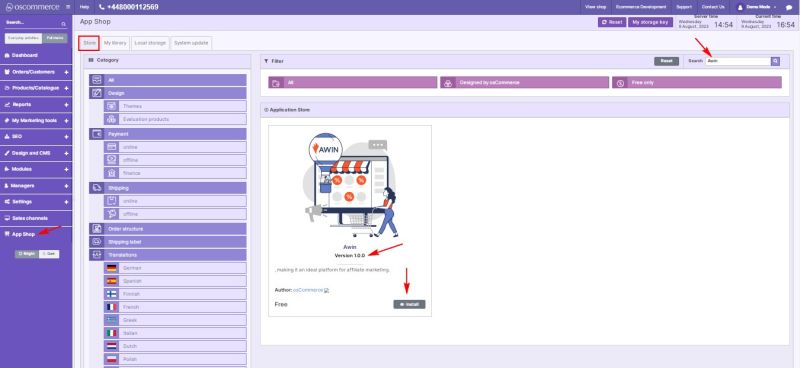
- Navigate to the "App Shop" and "Store" tabs.
- Locate the Awin module version 1.0.0 using the search function.
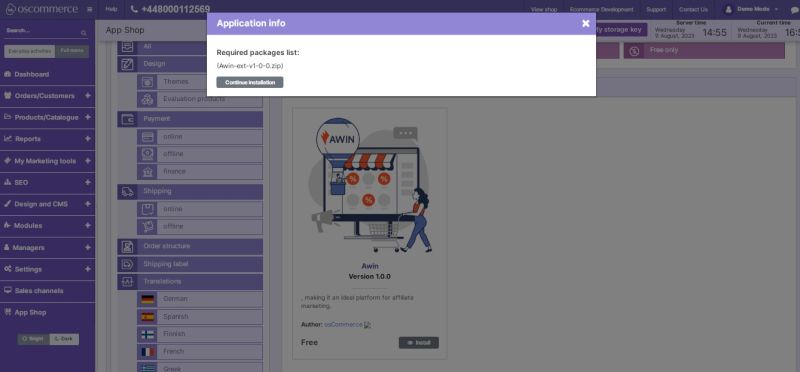
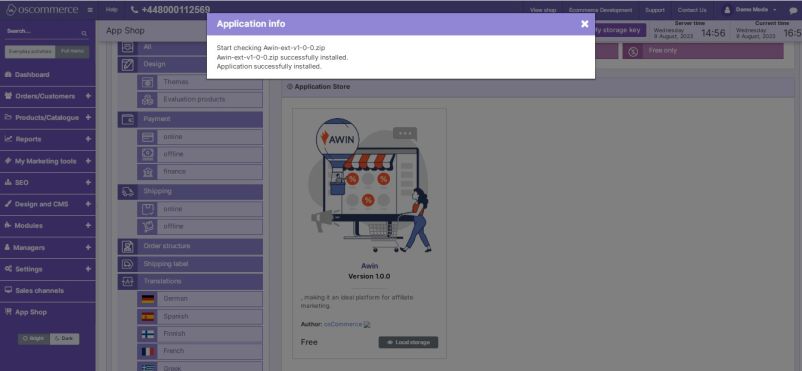
- Install the module on your website.
Follow any on-screen prompts or instructions to complete the installation process.
2. Configuring the Awin Module
After successfully installing the Awin Module, proceed to configure it according to your preferences.
2.1. Accessing Module Settings
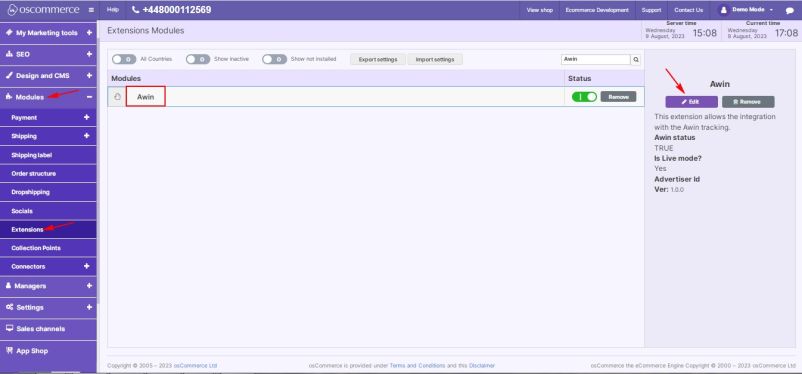
- Go to the "Modules" and "Extensions" tabs.
- Locate the "Awin" module.
- Click on the “Edit” button to access its settings.
2.2. Awin Module Configuration
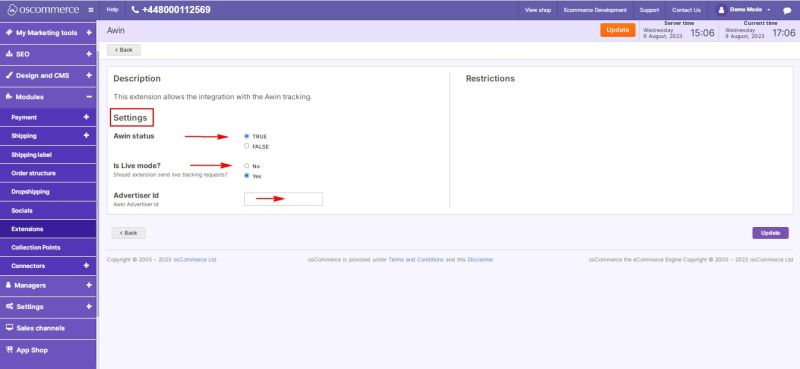
In the "Settings" section, configure the options for the Awin Module:
- Toggle the option to enable the Awin module for your website.
- Enable live mode for the module to send live tracking requests.
- Obtain an Advertiser ID from Awin.
- Enter the Advertiser ID in the corresponding field.
Congratulations! You've successfully integrated the Awin Module and configured its settings. With this setup, you can effectively track and analyze visitor behavior on your website, gaining valuable insights into their needs and preferences.
For any further assistance or inquiries, refer to the Awin Module documentation. Enjoy the benefits of enhanced tracking and analysis with the Awin Module!
