Going Live with osCommerce: Difference between revisions
Jump to navigation
Jump to search
No edit summary |
No edit summary |
||
| Line 1: | Line 1: | ||
{{#seo:|title=Going Live with osCommerce}} | |||
{{#seo:|description=This page describes the process of going live on the osCommerce version 4.x website.}} | |||
{{#seo:|keywords=Go, Live, osCommerce}} | |||
'''Note:''' The instructions below will '''only''' work if your osCommerce website is in the '''root''' folder. If it is '''not''' in the root folder it is '''necessary''' to move it to the root folder or change the web server configuration for it to consider the required subfolder as the root one. | '''Note:''' The instructions below will '''only''' work if your osCommerce website is in the '''root''' folder. If it is '''not''' in the root folder it is '''necessary''' to move it to the root folder or change the web server configuration for it to consider the required subfolder as the root one. | ||
Revision as of 11:51, 16 February 2023
Note: The instructions below will only work if your osCommerce website is in the root folder. If it is not in the root folder it is necessary to move it to the root folder or change the web server configuration for it to consider the required subfolder as the root one.
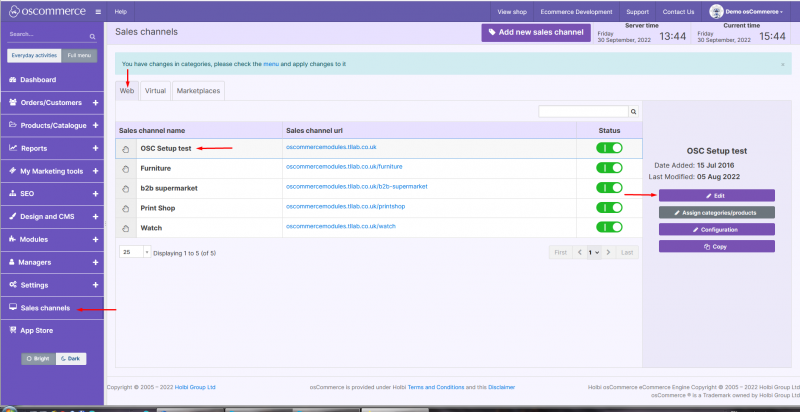
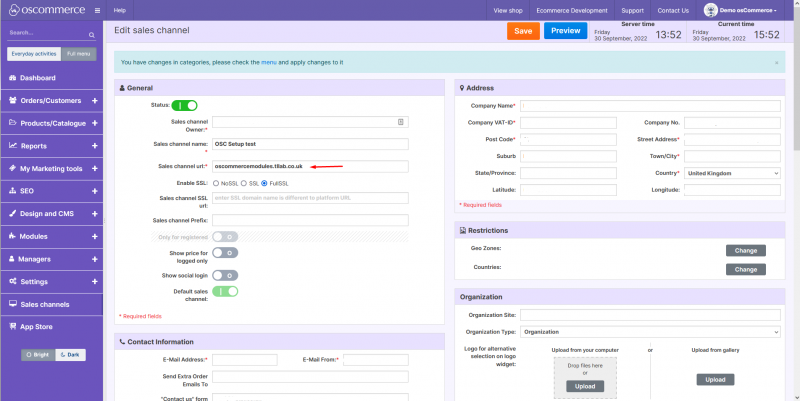
1. Change the url for the frontend.
2. Change config for the admin area admin/includes/local/configure.php.
3. For url
HTTP_SERVER
HTTPS_SERVER
change the path here:
DIR_WS_ADMIN
DIR_WS_CATALOG
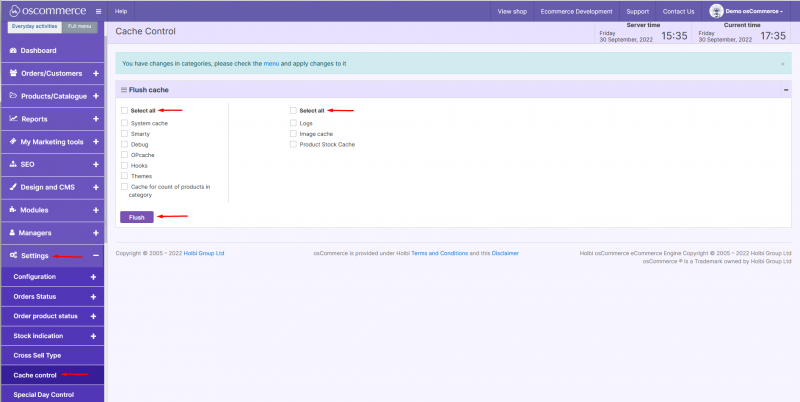
4. Flash all cache.


