Creating Mailchimp Sign up Form: Difference between revisions
No edit summary |
No edit summary |
||
| Line 1: | Line 1: | ||
'''Note: This manual is for osCommerce v4.''' | |||
To get the most updated information regarding creating Mailchimp sign up form visit the official Mailchimp website <nowiki>https://mailchimp.com/</nowiki> and contact their support team. The purpose of this manual is to explain what is current and important for the shop now. | |||
Mailchimp sign up form can be created without having an account on the website and be used on the website afterwards. | Mailchimp sign up form can be created without having an account on the website and be used on the website afterwards. | ||
<h4>Login to your Mailchimp account and click on '''Lists''' tab. | <h4>Login to your Mailchimp account and click on '''Lists''' tab. | ||
| Line 27: | Line 24: | ||
<nowiki>https://tl2.us12.list-manage.com/subscribe?u=8bb63df6f6aac40678d8456f0&id=03355510df&[email protected]&FNAME=First+name</nowiki> | <nowiki>https://tl2.us12.list-manage.com/subscribe?u=8bb63df6f6aac40678d8456f0&id=03355510df&[email protected]&FNAME=First+name</nowiki> | ||
(<nowiki>https://blog.mailchimp.com/how-to-pre-fill-items-on-your-mailchimp-hosted-form/</nowiki>) | (<nowiki>https://blog.mailchimp.com/how-to-pre-fill-items-on-your-mailchimp-hosted-form/</nowiki>) | ||
'''Note:''' To make the '''GDPR message''' and '''checkboxes''' look nicer click on '''Settings''' drop down list and then on '''List name and defaults''' option. | |||
[[File:Image 63.png|none|frame]] | [[File:Image 63.png|none|frame]] | ||
Latest revision as of 15:59, 24 February 2023
Note: This manual is for osCommerce v4.
To get the most updated information regarding creating Mailchimp sign up form visit the official Mailchimp website https://mailchimp.com/ and contact their support team. The purpose of this manual is to explain what is current and important for the shop now.
Mailchimp sign up form can be created without having an account on the website and be used on the website afterwards.
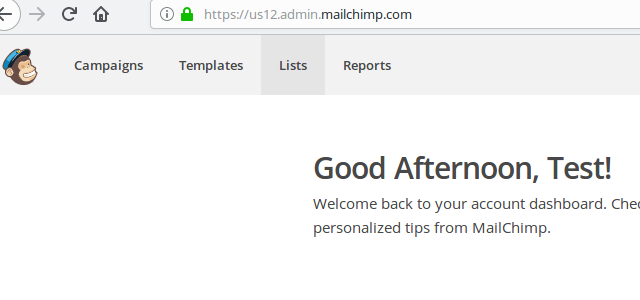
Login to your Mailchimp account and click on Lists tab.


Click on Signup forms.

Choose Form builder.

Make the design (the designer works according to the clicks (no drag-and-drops).

The form is saved automatically so open the short link (http://eepurl.com/doFLS1) in the browser. It redirects to the standard link like https://tl2.us12.list-manage.com/subscribe?u=8bb63df6f6aac40678d8456f0&id=03355510df
Add the parameters according to the field names.
[[email protected]&FNAME=First+name]
And you get the pre-filled form (official method).
https://tl2.us12.list-manage.com/subscribe?u=8bb63df6f6aac40678d8456f0&id=03355510df&[email protected]&FNAME=First+name
(https://blog.mailchimp.com/how-to-pre-fill-items-on-your-mailchimp-hosted-form/)
Note: To make the GDPR message and checkboxes look nicer click on Settings drop down list and then on List name and defaults option.
