Managing Brands
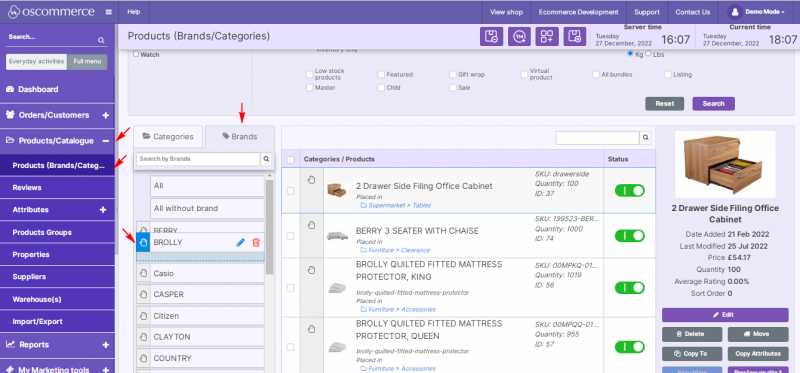
After you accessed the admin area of your website, click on the Products/Catalogue and Products (Brands/Categories) tabs. Under the Brands tab you can manage the existing brand list using drag and drop.
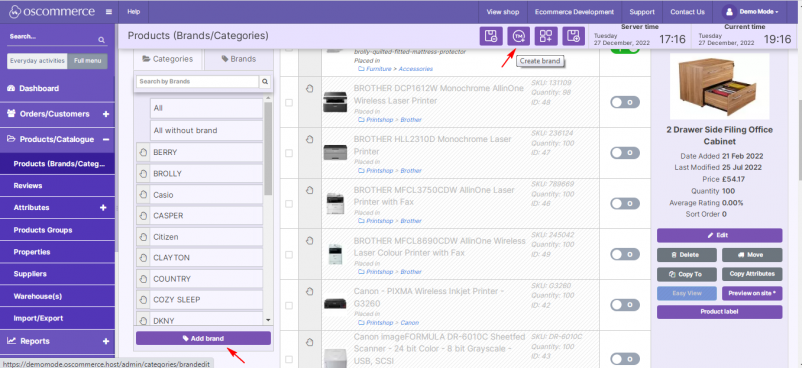
You can also add a new brand by clicking on the corresponding button.
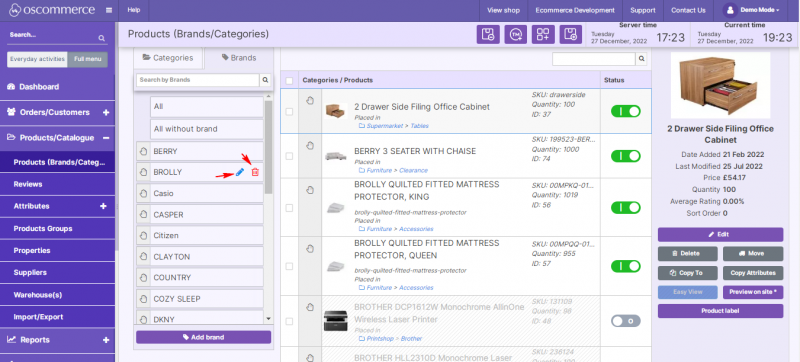
To edit or delete the existing brand, click on the corresponding icon: pencil icon to edit, bin icon to delete.
While adding/editing a brand, you can set its name, indicate "Out of stock" level limit, and configure the layout and set gallery image and hero image under the Main details tab.
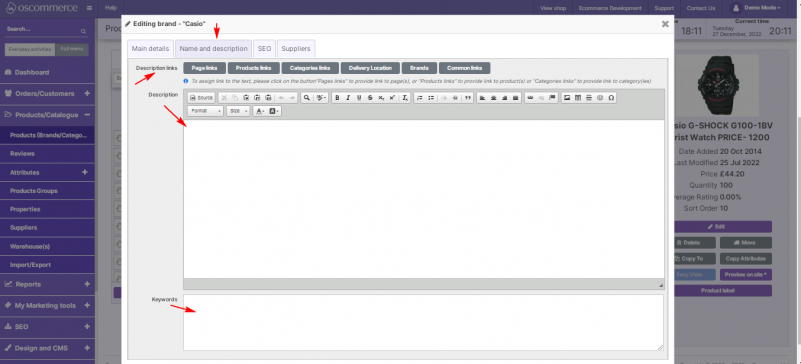
The Name and description tab allows you to enter a brand description and assign links to Pages, Products, Categories, Delivery Location, Brands, and Common links.
Under this tab, you can also enter brand search keywords.
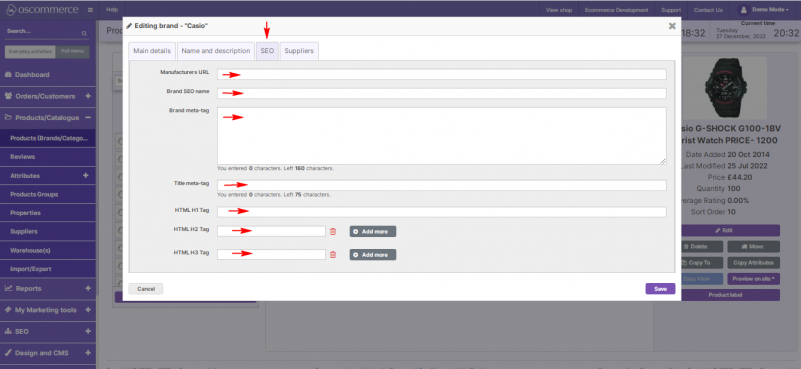
The functionalities of the SEO tab allow you to set (override) Manufactures URL, create Brand SEO name, Brand meta-tag, Title meta-tag, and H1, H2, H3 tags (if applicable).
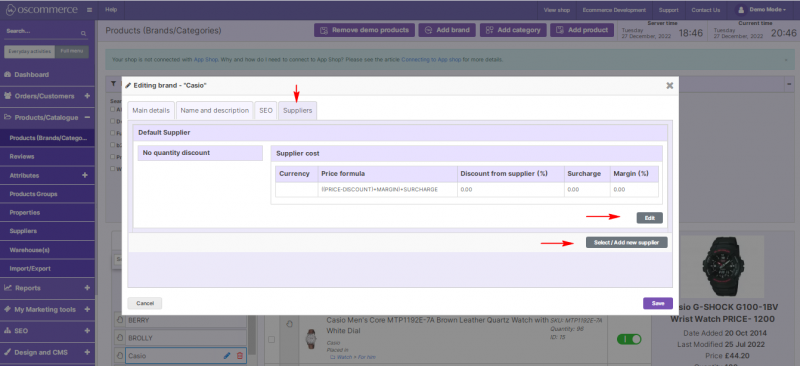
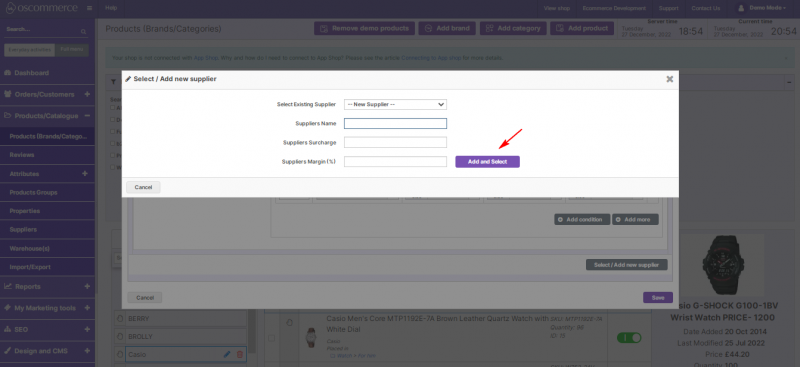
Under the Suppliers tab, you can select a default supplier (if applicable). It is possible to select/add a new supplier or edit the existing one by clicking on the corresponding button.
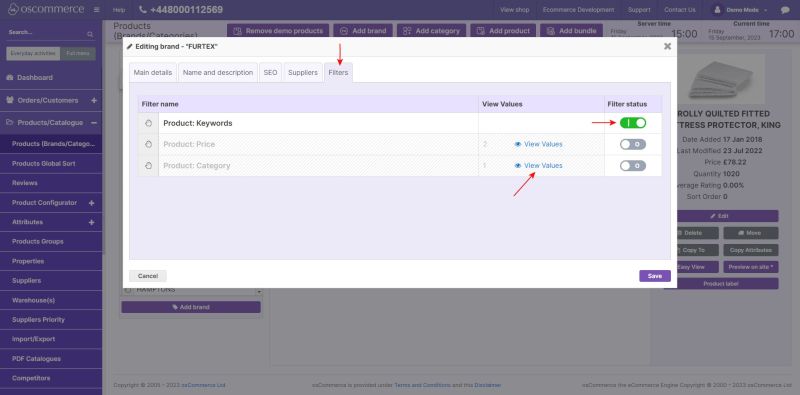
Activate product filters under the Filters tab to allow users to sort products on the frontend by keywords, prices, and categories. Access the "View Values" link to see the price range of a brand's products and the categories they're assigned to.
