
In the realm of online business, a seamless payment process is essential. If you're looking to optimize your payment gateway, the Opayo Pi Module is your answer. But before diving in, be sure to check out the comprehensive guide on "Managing Opayo Pi Module" for a holistic understanding. Once you're armed with that knowledge, follow this guide to effectively test the Opayo Pi Module right from the front end of your website.
|
Step 1: Initiating the Testing Phase Begin your testing journey by finding one of the products on your website. This is where the real-world simulation starts. |
 |
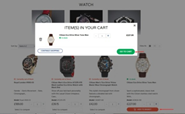 |
Step 2: Adding to the Basket and Navigating to Cart With your chosen product in sight, click on the "Add to Basket" button. This action emulates a customer's decision to purchase the product. Afterward, proceed by clicking the "Go to Cart" button, stepping closer to a seamless transaction experience. |
|
Step 3: Initiating the Payment Process Now, it's time to put the Opayo Pi Module to the test. Click on the "Pay with card" button, signaling your intent to complete the transaction. |
 |
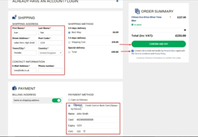 |
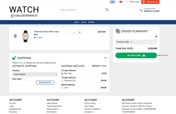
Step 4: Selecting Opayo Payment Method Within the payment options, locate and choose the Opayo payment method. To proceed, fill in the necessary test information and give your consent to the policy. When everything is set, click on the "Confirm and Pay" button, initiating the payment process. |
|
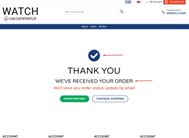
Step 5: Witnessing Success As the process unfolds, a success page will greet you, confirming the successful creation of your order. This mirrors the experience a customer would have after making a purchase. |
 |
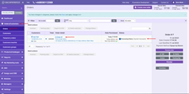 |
Step 6: Navigating to Admin Area for Order Management Navigate to the admin area of your website, where you hold the reins of order and customer management. Click on both the "Orders/Customers" and "Orders" tabs to navigate to your recent order. Step 7: Exploring Order Details The order you just created will be listed here, complete with the status you configured in the module settings. Click on this order to access a treasure trove of information. |
|
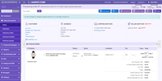
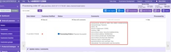
Step 8: Unveiling Billing and Transaction Insights Within the order details, you'll find comprehensive information about the billing method used and intricate transaction details. This is where you gain insight into the mechanics of the payment process. |
|
By effectively testing the Opayo Pi Module on your website's front end, you're taking significant strides toward providing your customers with a seamless and reliable payment process. This process mimics a real transaction, allowing you to fine-tune your setup, troubleshoot any issues, and ensure that your customers enjoy a frictionless journey from product selection to successful payment. As you navigate through the testing phase, you're setting the stage for an enhanced customer experience that reflects the utmost professionalism and efficiency.
Also see the link to the playlist below demonstrating how to install Opayo Pi module from admin area and from oscommerce.com account as well as how to configure Opayo Pi module and test it on the front end:
https://www.youtube.com/watch?v=0f-lyy7iMmc&list=PLHN7KfrDE8gPPQ_PTGC9YM36dHuYApHWz
 #1 eCommerce Development Agency